
Overview
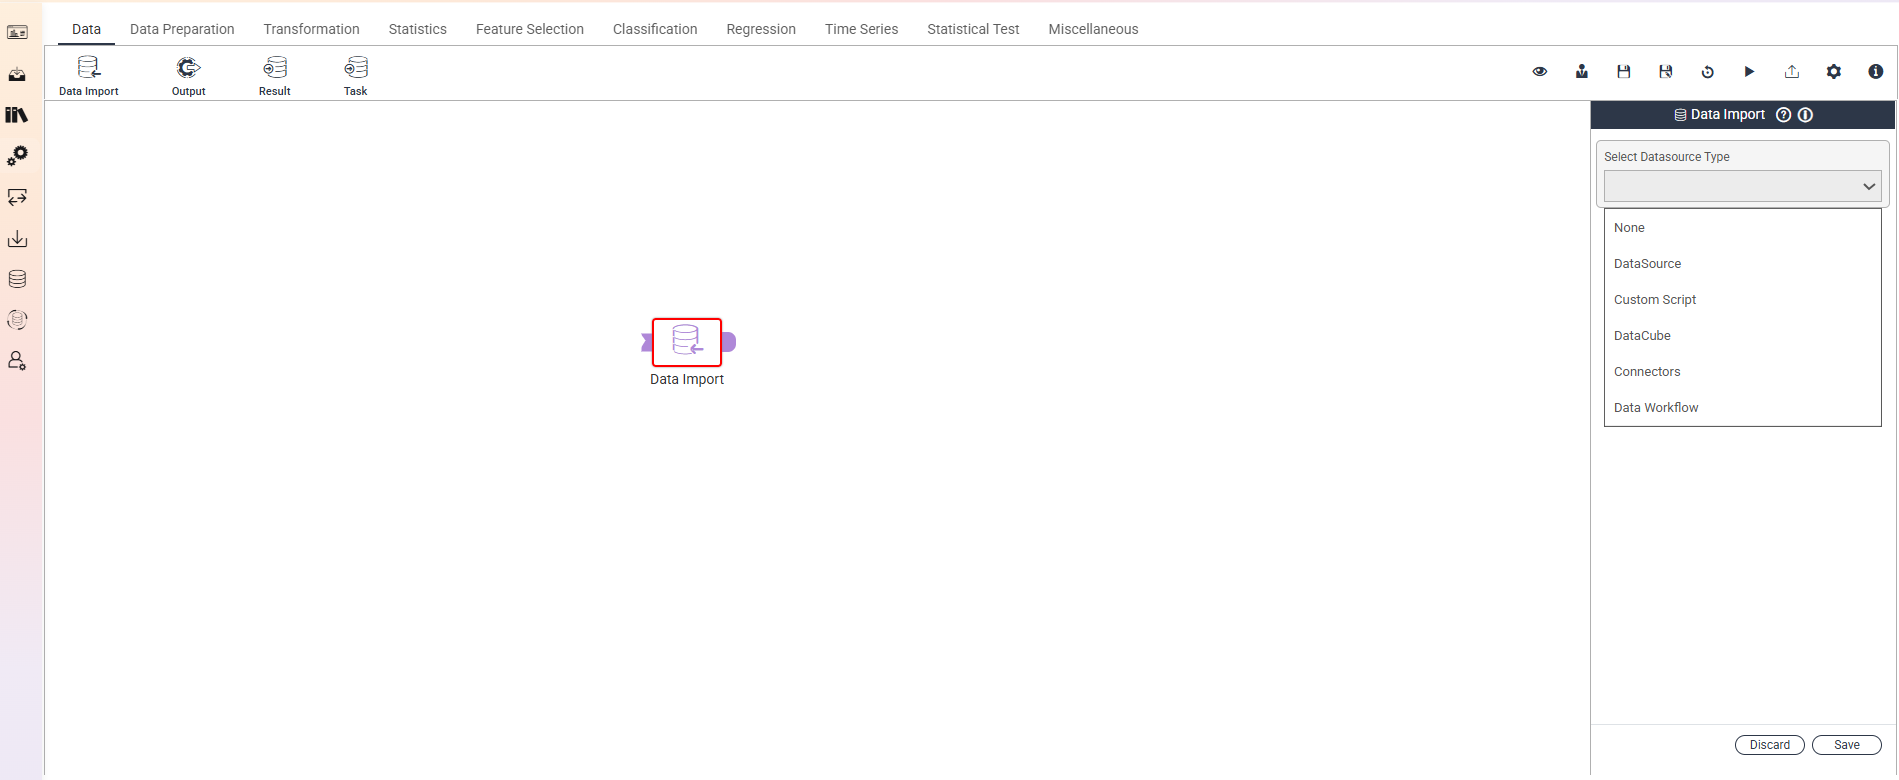
The Data Import node is the source node in a Weave Workflow. It connects to a configured Datasource, fetches the specified dataset, and emits its rows into the Workflow for downstream nodes to consume. Configuration consists of two selections: the Data Source Type (the category of configured Datasource) and the Select Data Source dropdown (the specific dataset within that Datasource).
Data Import nodes are added to a Workflow from the node panel on the Design canvas. Multiple Data Import nodes can be added to a single Workflow; their outputs combine downstream through join, union, or merge-style transformation nodes.
Note: “Workflow” is the in-UI term for what some Weave documentation calls a pipeline. This reference uses “Workflow.”


When to use it
- Starting a Workflow that processes data from a configured Datasource — relational databases, files, APIs, or other configured connections.
- Pulling in a specific dataset (table, file, sheet, query result) as the source for downstream transformation.
- Combining data from multiple Datasources within the same Workflow — add one Data Import node per source, then combine downstream through join or merge nodes.
- Loading reference data into a Workflow that joins against transactional data from a separate Data Import.
Role in the Workflow
Data Import is a source node — its role in the Workflow graph is well-defined.
Configuration
The Data Import node’s configuration is minimal — two dropdowns identify the data to import.
| Data Source Type | The category of Datasource to import from. Lists the types of configured Datasources available in the current project / environment. |
| Select Data Source | The specific dataset within the chosen Data Source Type. Lists the available datasets / tables / files on the selected Datasource type. |
Node icon controls
Clicking a Data Import node on the canvas reveals three icon controls above it. These controls match the pattern used across all Weave Workflow nodes.
| Run | Executes the node, fetching data from the configured Datasource. Output is available via Show Results at the bottom of the canvas. |
| Pencil | Opens the node rename input. Useful for distinguishing multiple Data Import nodes in the same Workflow (e.g., “Customers”, “Orders”, “Products” rather than three generic Data Import labels). |
| Cross | Deletes the node from the canvas. Downstream connections need to be reconfigured. |
Save and Discard semantics
Node configuration follows an explicit Save/Discard discipline. Changes don’t persist until committed; closing or navigating away without an explicit choice triggers a warning.
| Save | Commits the configuration changes. The node is now configured with the saved values; running the node fetches data based on these values. |
| Discard | Reverts the configuration to its last saved state. Any changes made since the last Save are dropped. |
| Close without Save/Discard | Triggers a warning popup. Prevents accidental loss of configuration work — the popup forces an explicit choice. |
Show Results
After running the node, click Show Results at the top of the canvas to view the imported data. Results display in a table format that mirrors the source dataset’s column layout.
Key behaviors
Data Import is a source node. It accepts no upstream inputs. Every Workflow that needs data starts with one or more Data Import nodes. The output of a Data Import node feeds downstream transformations, filters, joins, and exports — Data Import itself does no transformation.
Configuration is minimal. Data Import has only two configurable settings — Data Source Type and Select Data Source. There is no row-level filtering, column selection, or transformation at this stage; those operations happen on downstream nodes. This keeps Data Import nodes focused on data acquisition only.
Save/Discard discipline applies to every node. The Save/Discard pattern (with a warning popup on close-without-choice) is a Workflow-wide pattern, not Data Import–specific. Designers adding any node type to a Workflow encounter the same configuration commit discipline.